MY FIRST DIY ALCOHOL STOVE
I've been reading about the advantages of alcohol stoves, especially for three season backpacking. So I thought I would give it a try. My initial ideal was to make a Fancy Feast Stove, but from what I've read, these work best with wide, flat pots. I was curious if I could make it work with my Jetboil pot. This might sound a little ridiculous but I wanted to do this for a few reasons:
- The Jetboil pot really isn't that heavy, it's the fuel canister and the burner that add the real weight.
- Even if you do carry the burner and the fuel canister, it might run out, get lost, or punctured or the burner might malfunction, and it would be nice to have a backup without adding much weight/bulk.
- I don't feel like shelling out $60 for a new ti ultralight pot until I'm sure I'm going to like the alcohol stove system.

I started with a $0.59 Fancy Feast can, a hole punch and a Sharpie.

I fed the glob of what I assume used to be tuna to Lucy, my dog. (She'll eat anything)

I marked it with 16 equidistant dots with the Sharpie where I wanted my holes. (You could easily eyeball the holes and skip this step)

I punched out 16 holes.

First I thought I would see how it worked if I just set the Jetboil directly on stove.
It worked, but it burned hotter than I wanted and a lot of the flame escaped and went up the side. It took 30 milliliters and about twenty minutes to get it to a boil.
So I decided to build a small riser/wind screen to get the Jetboil up off the stove a little, contain the flames a bit and block some of the wind.

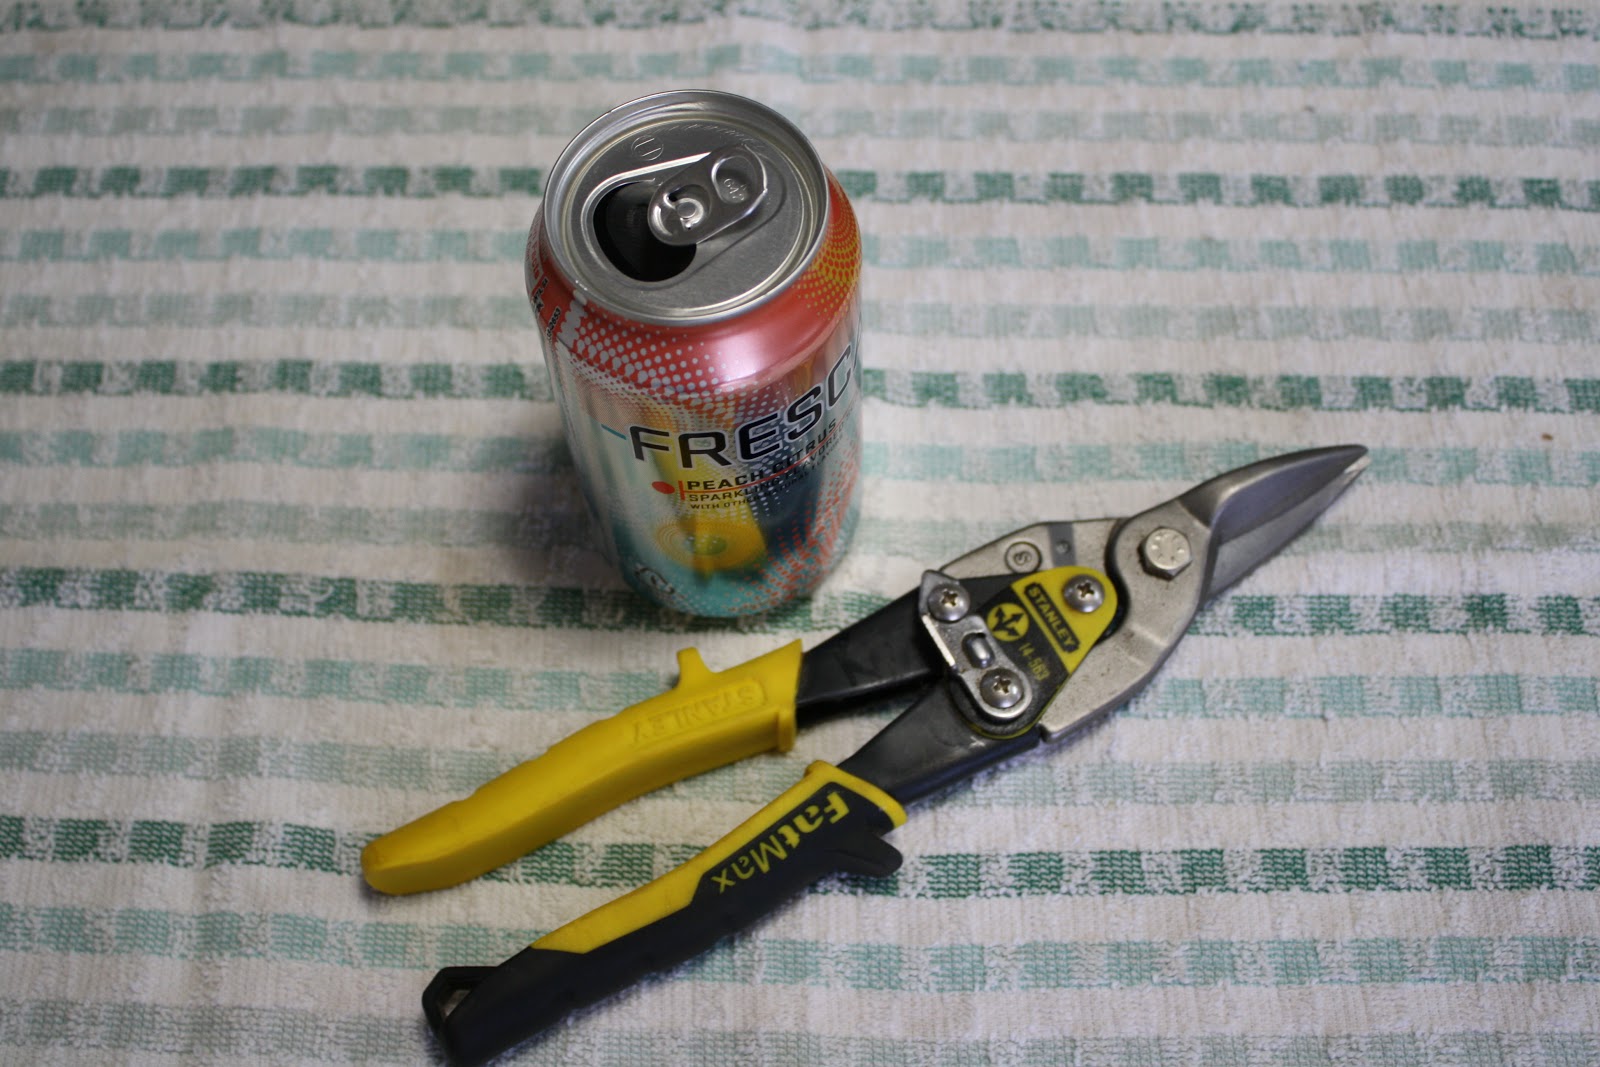
I cut the top and bottom off of a soda can.

I split the resulting sheet of aluminum in half long ways and taped them together in a circle with foil tape.

I cut some air intake flaps, but I left the flaps still attached. This way if the wind is coming from a certain direction, I could still close the flap on that side.

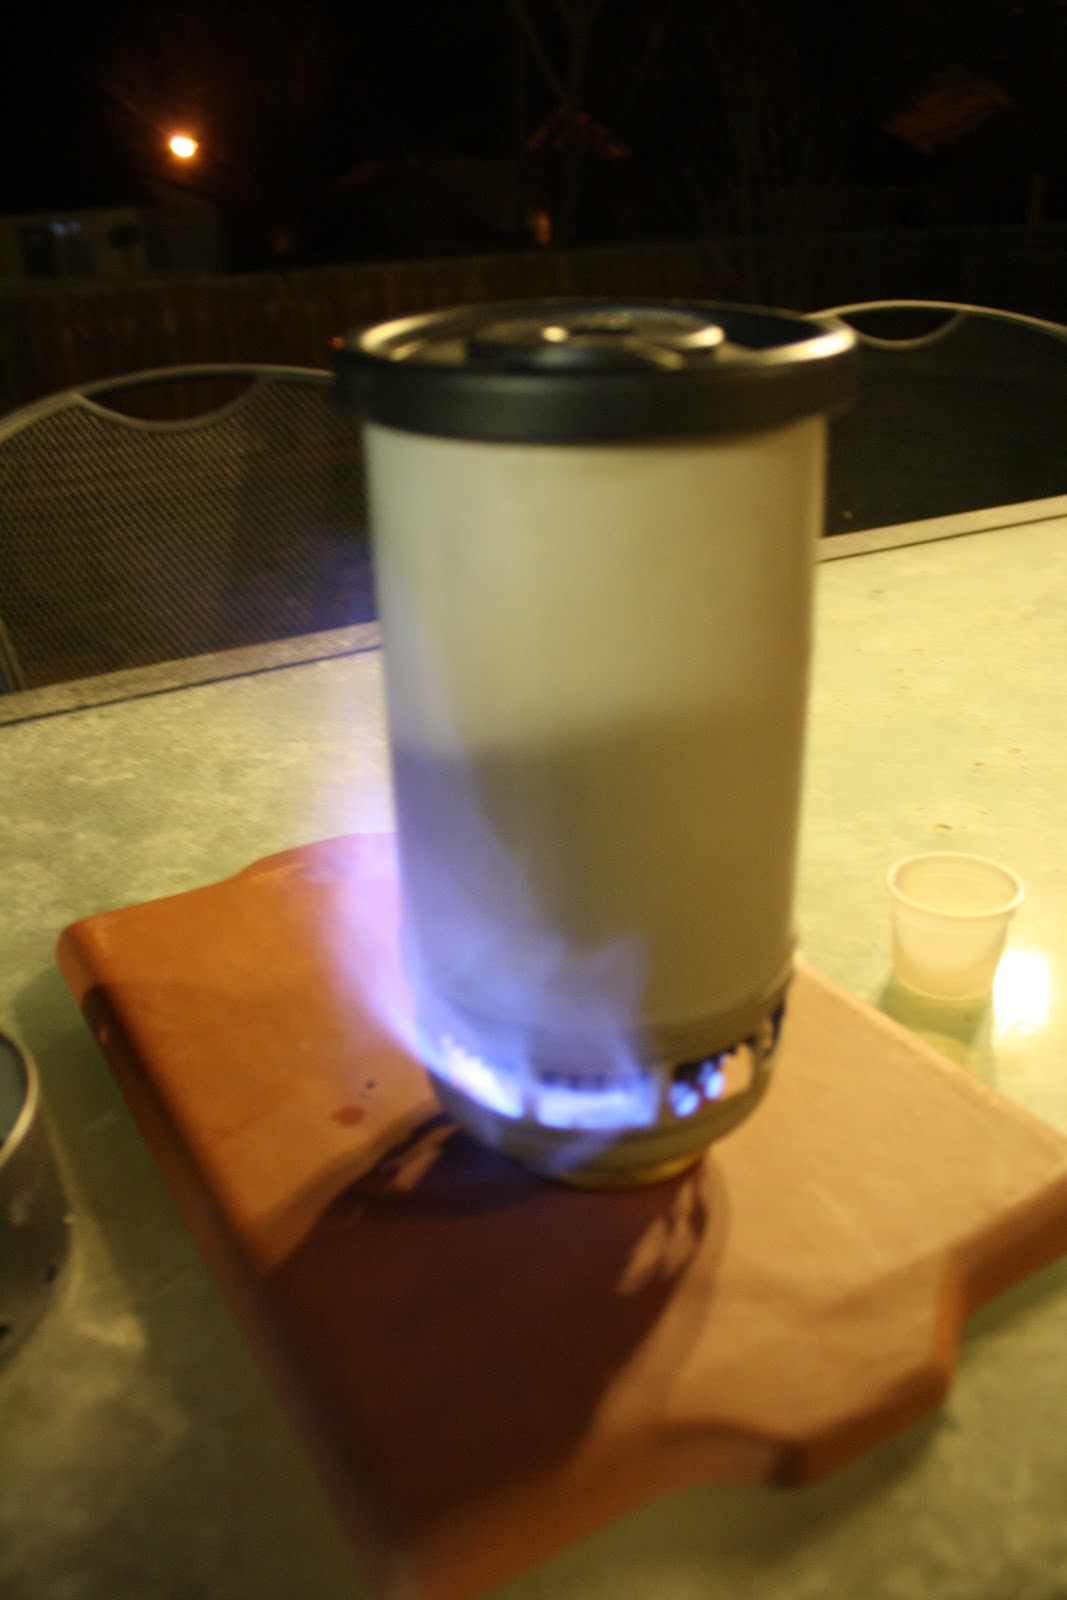
As you can see, with the riser/wind screen attached, the flames are coming in contact with the heat exchange fins, but not escaping up the sides as much.

It took ten minutes with fifteen milliliters of denatured alcohol, but it came to a full rolling boil. It was about fifty degrees with no wind when I tested it.
The riser/wind screen fits nicely inside the pot itself and you can still fit the canister and the burner. I'll have to test this out when three season conditions return and post how it worked in the "field".
Thanks for reading.
Rick
Here's a great article for understanding how DIY alcohol stoves work and how to design them.
ReplyDeletehttp://adventuresinstoving.blogspot.com/2011/12/diy-alcohol-stove-design.html
That's pretty slick man. Nice job!
ReplyDeleteOne question - how did your wife react to you testing the burner on her nice cutting board?
;-)
Thanks Glenn. I think she was just thankful that I didn't burn the house down!
Delete15 ml to boil 2 cups of water is actually pretty good. Your observation that wide, flat pots tend to work better with a Fancy Feast type stove is true in my experience, but it looks like your Fresca "riser" compensates fairly well. I wonder how stable it is though. My favorite alcohol stoves are the "integrated" windscreen type such as the Trail Designs Caldera Cone or the Flat Cat Gear Bobcat System. The windscreen not only blocks wind but actually supports the pot as well. It's very stable and channels the heat quite effectively.
ReplyDeleteHJ